A few weeks ago I set out to build my first DIY softbox for my studio. These posts served as an inspiration > Jag’s Photo Blog: DIY softbox / Photo Tuts+ : How To Make a Professional Softbox for Under $20. The entire build took only a couple of hours and I’m overall very satisfied with the results. To see it in action, make sure to watch the video at the bottom of the page, in high definition.
Items needed:
- Cardboard box
- Aluminium foil
- Garden fleece sheet
- A ruler, glue and a cutter knife
- A metal strip
- A small metal L-bracket
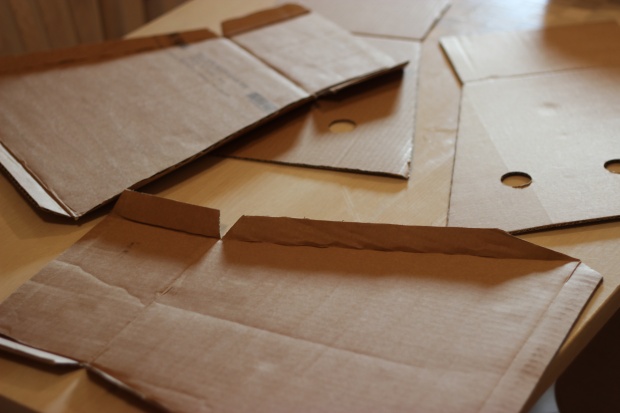
I started by disassembling a cardboard box and sketching the softbox parts as shown in this article. I cut the sleeves (look at the image below), needed to later glue the parts together, only on two items instead of four (see the 2nd image).
Box parts, 2 with and 2 without the sleeves.
The second step was to glue the aluminium foil to the inner sides of the box.
Minutes later I assembled the pieces together and glued the sleeve joints.
Next I cut two sheets of garden fleece in the size slightly larger than the outer square.
At first I thought only to screw the L-bracket onto the upper side of the box.
As this turned out unstable, a metal strip was attached to the upper side of the box to prevent the cardboard from bending.
Right after the construction was done I did a test video using the DIY softbox as the key light, an IKEA paper lantern as a fill light and a simple table light as the back/hair light.
If you like the softbox, also check my DIY Camera Jib concept.


